This concise guide explains what the adaptive system does in modern Volvo models and why the dashboard may show an adaptive headlamp message.
You will learn the difference between simple illumination issues and faults that affect beam aiming and leveling. That clarity helps avoid swapping a bulb when the real problem sits in wiring, a module, or a connector with moisture.
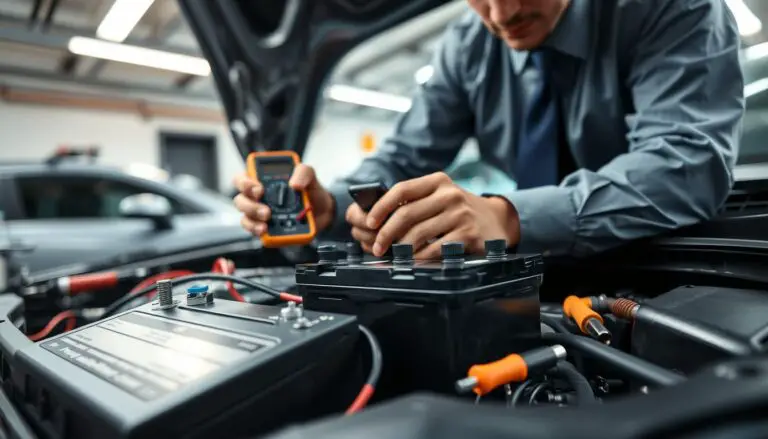
The guide outlines tools you might need: an OBD-II scanner with Volvo coverage, a multimeter, and basic hand tools. It also covers safety steps for working near HID, xenon, and LED systems.
Follow the step-by-step approach to check power, grounds, communications, and component function in a logical order. This method saves time and helps you decide when dealer programming or a pro is required.
Key Takeaways
- Understand whether the issue is lighting output or aiming and leveling control.
- Start with simple checks: connectors, grounds, and stored fault codes.
- Use targeted swap tests to isolate the headlight unit, module, or harness.
- Keep safety first when handling high-voltage lighting components.
- Software updates matter sometimes; verify initialization and stored faults before replacing parts.
Understanding Volvo Adaptive Headlight Malfunctions Today
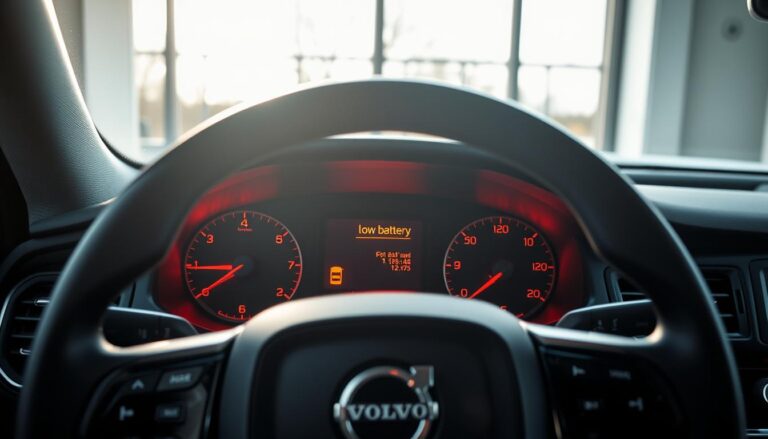
A dashboard warning about the adaptive system often flags the aiming and leveling controls rather than simple bulb failure.
Real-world example: An XC90 reported an adaptive headlamp malfunction while high beam, low beam, and turn signals stayed functional. The right unit failed its startup sweep and did not follow steering input. A scan returned CEM-U132382, which named the right adaptive module.
The message usually means the car has detected a fault in aim or movement, not necessarily a burnt bulb. That distinction helps avoid replacing a working lamp when the module, wiring, or stepper motor is at fault.
Symptoms often point to one side only. When the beam won’t level or turn, suspect connectors, moisture, damaged wiring, or a failed actuator. Enthusiast top posts note many cases start as intermittent errors after vibration or service, so check seals and corrosion first.
Quick symptom vs. likely cause view
| Symptom | Likely Cause | First Check |
|---|---|---|
| No startup sweep (one side) | Faulty module or actuator | Scan for CEM codes, swap side if possible |
| Beam won’t follow steering | Angle data ignored or communication fault | Verify LIN/CAN signals, inspect harness |
| All lights illuminate, adaptive disabled | Control disabled for safety | Check connectors for moisture/corrosion |
Adaptive Headlight Malfunction on Volvo: How to Diagnose & Fix
Begin troubleshooting with a clear scan and documented fault codes to narrow scope quickly. Start by reading the CEM entry and note CEM-U132382 precisely. Clear the code, then key-cycle and watch whether the error returns immediately or after the startup sweep.

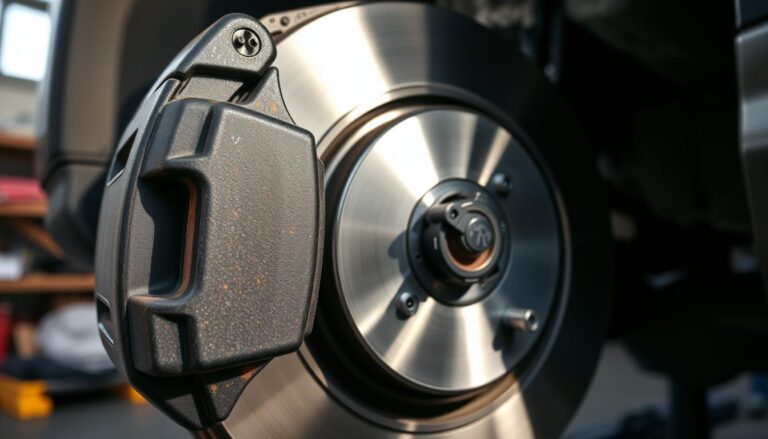
Visual checks matter. Inspect the headlamp assembly connectors for green oxidation, bent pins, or moisture. Clean corrosion with dielectric-safe methods and reseal any worn gaskets.
Next run a functional test. On key-on the system should perform a short vertical and horizontal sweep. If illumination is fine but the right side won’t move, the fault likely sits in actuation or wiring rather than bulb power.
Verify LIN communication and power at the harness. Matching square-wave traces left vs. right point away from bus faults. If a swapped complete headlight still triggers the same error, focus on vehicle-side wiring and stepper mechanisms.
Note: a CEM software reload can help some cases, but when a reload fails and swap tests show the module is good, expect harness, actuator, or assembly repairs next. Document results and compare with forum posts and reddit rereddit threads for similar patterns.
Fixing the Issue: Repairs, Parts, Costs, and When to Seek Help
Decide your repair path after clear diagnostics. In the XC90 example, moving the full headlamp assembly to the other side proved the unit worked, which points at vehicle-side wiring, connectors, or the right-side actuator as the real problem.

Module vs. full headlamp assembly
Compare options. If actuator tests fail but the module responds when swapped, a full assembly replacement often fixes seized internals. Xenon and LED projector units cost more but can return better performance when restored.
Wiring and connector repairs
Moisture and corrosion cause intermittent U-codes. Dry the housing, replace damaged terminals, and repair short sections of the harness near the bracket using sealed crimps and heat-shrink to prevent flex fatigue.
Dealer vs. independent shops
Dealers handle software loads and coding, while skilled independents often do wiring and assembly work at lower cost. Check warranty status before any repair; many extended plans cover module and assembly replacement with documented diagnostics.
Real-world tips from posts and community
“Check actuator response in actuator tests before ordering a new headlamp; many owners saved money fixing the harness.”
- Compare used/reman assembly pricing versus internal repairs; xenon components like ballast are separate from the adaptive mechanism.
- Use actuator tests and scan results first; if the module behaved when swapped, focus on harness and connectors.
- For a ballpark on module replacement costs, review this estimator: headlamp control module replacement cost.
Conclusion
A dashboard warning about the lighting system often points to control or wiring problems even when the headlights still work.
Start with a clear scan and document the error, then compare startup sweeps side by side. Verify LIN signals, power and ground, and use swap tests to isolate the fault before buying parts.
The XC90 pattern with CEM-U132382 and matching waveforms usually indicates a wiring or actuator issue rather than software alone. Prioritize cleaning connectors, repairing the harness, and checking mechanics inside the lamp; these steps often restore function at lower cost.
If programming or calibration is needed, plan for dealer tooling or a specialist and check warranty coverage. Keep records of tests and repairs, and seek professional help with Volvo experience when diagnostics stall—this saves time and avoids unnecessary parts spending.
FAQ
What does the “Adaptive Headlamp Malfunction” message mean on the dashboard?
This warning indicates the vehicle detected a problem with the headlamp system that adjusts aim or beam pattern. It can stem from a failed module, a bad stepper motor, wiring issues, or moisture in the lamp assembly. A diagnostic scan that reads lamp-specific fault codes helps pinpoint the cause.
What are the most common symptoms besides the dashboard warning?
Owners often report one lamp not leveling, a lamp that no longer turns with steering input, reduced beam performance, or a startup sweep that fails on one side. Flickering or intermittent operation and error codes after road moisture are also common signs.
Which diagnostic codes should I look for during a scan?
Look for body electrical module or headlamp-related codes, such as faults referencing the right or left headlamp module (example: U‑codes or module-specific identifiers). Codes that mention LIN bus communication, stepper motor errors, or moisture detection are especially relevant.
What visual checks should I perform before replacing parts?
Inspect the headlamp assembly for condensation, cracked lens, or corrosion at connectors. Check wiring harnesses for chafing, pin damage, and secure pins in the mating plugs. Verify ground points and socket contacts for rust or looseness.
How do I test whether the lamp motor or the module is at fault?
Perform a functional test: trigger the startup sweep and operate the steering while observing the lamp. If one unit fails to move, swap the headlamp module or controller (if accessible) with the opposite side to see if the fault moves with the module or stays with the assembly. That isolates module vs. mechanical failure.
What is LIN bus verification and why does it matter?
The LIN (Local Interconnect Network) carries commands between the central electrical module and headlamp units. Verifying LIN signal integrity involves checking voltage levels and communication consistency; mismatches between right and left sides suggest wiring or bus faults rather than a headlamp motor issue.
Can a software update or CEM reload fix the problem?
Sometimes. If the central electronic module has corrupted calibration or outdated software, a reload or update can restore proper communication. If physical damage, motor failure, or water intrusion exists, software alone won’t resolve the fault.
When should I replace the module versus the entire headlamp assembly?
Replace the module when diagnostics confirm an electronic controller fault and the lamp mechanics are intact. Replace the full assembly if the stepper motor, optics, or xenon/LED units are damaged, corroded, or waterlogged. Cost and availability differ by trim and lamp type.
How common are wiring harness and connector problems, and how are they repaired?
Wiring and connector faults are frequent, especially where the harness flexes or is exposed to moisture. Repair options include cleaning contacts, repairing or replacing corroded pins, splicing in new sections of wire, and resealing connectors. Proper insulation and strain relief prevent recurrence.
Should I go to a dealer or an independent shop for repairs and programming?
Dealers can perform module programming, software updates, and warranty-covered replacements. Experienced independent shops can handle most mechanical and electrical repairs but may lack OEM programming tools. Warranty coverage and required programming steps should guide your choice.
What are realistic cost ranges for repairs or replacement parts?
Costs vary widely. A simple connector repair or stepper motor replacement is relatively inexpensive. Full lamp assemblies, especially with xenon or advanced LED modules, can be costly. Expect higher parts costs if programming or dealer labor is required—get quotes before committing.
Any practical tips from owners and community posts that help troubleshoot?
Community threads often recommend checking for moisture first, swapping parts to isolate issues, and inspecting the LIN wiring for wear. Document any intermittent behavior, take photos of connectors, and save fault code screenshots to share with technicians for faster diagnosis.
Can I drive safely with the warning active?
Limited use is possible, but reduced beam aiming or a non-functional turn-following feature can impair nighttime visibility. If one lamp is out or misaligned, avoid high-speed night driving and schedule repairs promptly.
Are failures covered under warranty or extended plans?
Coverage depends on your vehicle’s warranty terms and whether the failure results from a manufacturing defect versus wear, impact, or moisture damage. Check factory warranty limits, extended plans, and recall notices for potential coverage.
Where can I find replacement parts and reliable references?
Use OEM part numbers listed by Volvo or reputable aftermarket suppliers with good reviews. Refer to service manuals, community forums, and repair shops experienced with these systems for part compatibility and installation tips.