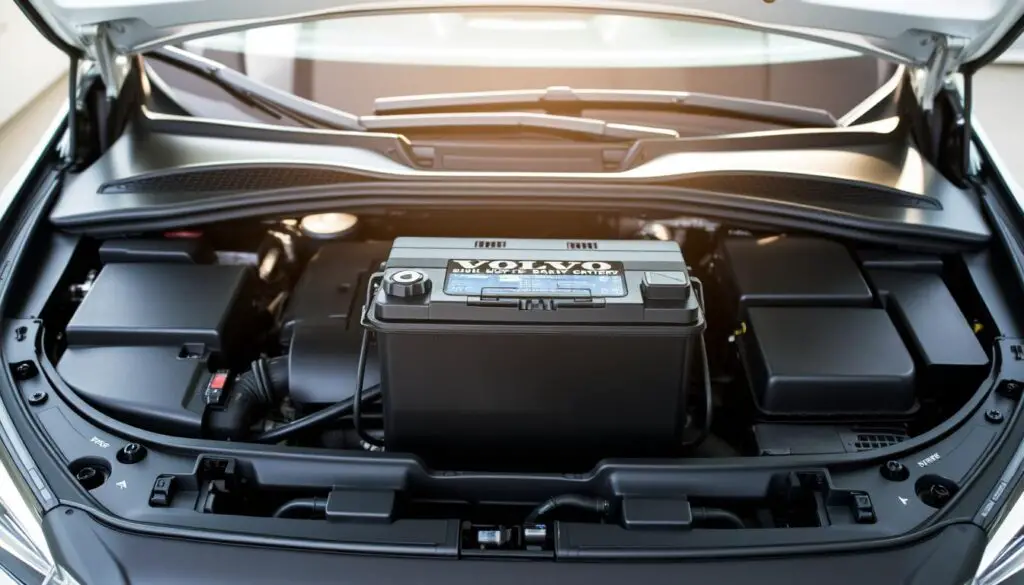
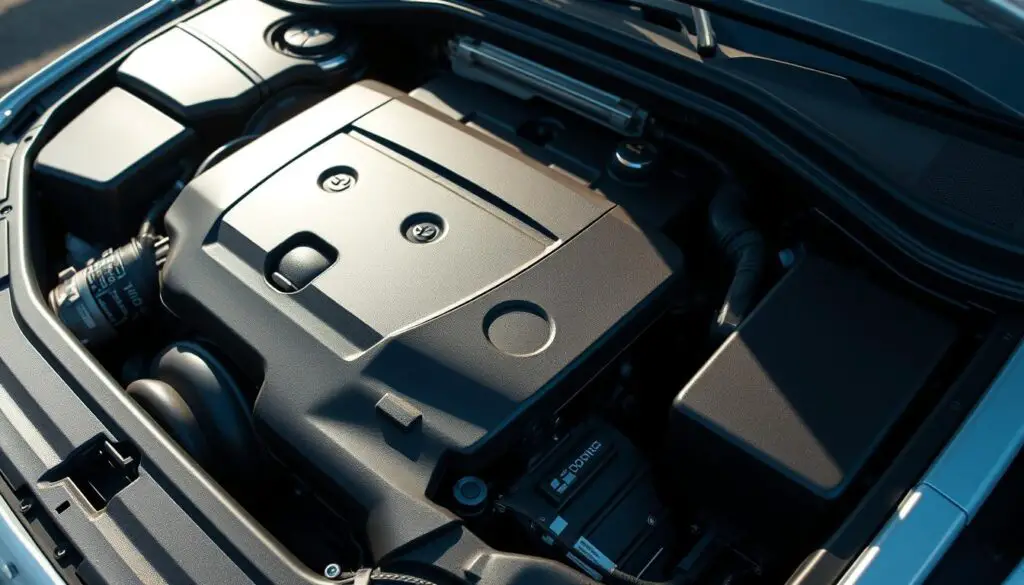
Quick view of common 12V setups helps save time during roadside checks or routine service.
Different S60 model years use varied placement for power packs. Older sedans (2001–2009) house units in the trunk under the spare tire cover. Later generations moved the primary 12V forward, then returned it to the trunk while keeping an auxiliary module under the rain cowl.
Safety first: wear eyewear and gloves. Avoid bridging terminals with metal tools. Use marked under-hood jump terminals and a ground post when jump-starting.
Why this matters: placement affects access, performance parts (EFB or AGM), and when to call professional service. Check an owner manual for size and CCA number before replacement to match factory specs.
Key Takeaways
- Model year dictates battery location and access points.
- Trunk placement common on many S60 generations; engine bay holds auxiliary units.
- Use provided jump terminals and a ground post to avoid accidental arcs.
- Match battery type and CCA to owner manual for reliable performance.
- Wear protective gear and consult service if uncertain about replacement.
At a Glance: Battery Locations in Volvo Cars by Model and Year
Quick overview: Model year often decides whether the primary cell sits under the hood or in the trunk, and this affects routine access and diagnostics.
Engine compartment vs. trunk
First-generation S60 models (2001–2009) keep the primary unit under the spare tire access cover in the trunk. That spot protects the cell while letting owners reach hold-downs without engine-work.
Second-generation S60 cars with start/stop systems use two batteries. The main 12V usually sits forward, near the driver side within the engine compartment. An auxiliary unit hides behind the rain cowl, near the passenger bulkhead.
Stop/start systems and auxiliary units explained
Third-generation S60 versions moved the main pack back to the trunk but kept an engine-bay auxiliary. Under-hood jump points live under a plastic + cover with a nearby ground post for safe access.
“If a start/stop message or error appears, test both cells rather than assuming the primary is at fault.”
| Generation | Years | Primary location | Auxiliary |
|---|---|---|---|
| 1st S60 | 2001–2009 | Trunk (under spare cover) | None |
| 2nd S60 | 2010–2018 | Engine compartment (front, driver side) | Under rain cowl |
| 3rd S60 | 2019–present | Trunk | Engine bay auxiliary |
| XC40 | Various years | Split configurations | Model dependent |
Always check the owner manual for exact diagrams by year before attempting service or removal.
Where is the Battery in a Volvo
Quick guide: Model year and start/stop systems change how S60 power cells are arranged. Read this short section to find likely placement and safe access points before you begin work.

S60: trunk or engine bay by generation
2001–2009 S60 models store the main cell under the spare tire access panel in the trunk. Open the cargo floor and lift the spare cover to reach the hold-down bracket.
2010–2018 layouts put the primary unit ahead of the driver inside the engine compartment. An auxiliary module often sits under the rain cowl and may require panel removal.
2019 and later return the main pack to the trunk while keeping an engine-bay auxiliary for stop/start systems.
Common access points: covers, posts, and hold-downs
Open the hood and look for a small plastic cover marked with a + to find under-hood jump terminals. A nearby ground post gives a safe test or boost point.
For protected compartments, remove trim and clips in the sequence shown in your owner manual. This prevents damage and eases reassembly.
- Trunk layouts: spare panel, hold-down bracket, tool kit area.
- Engine layouts: top cover, clips, hold-down; avoid forcing plastic pieces.
- Stop/start cars: check both main and auxiliary units; rain cowl access may be needed.
| Generation | Years | Primary location | Notable access point |
|---|---|---|---|
| 1st S60 | 2001–2009 | Trunk (under spare) | Cargo floor / spare access |
| 2nd S60 | 2010–2018 | Engine compartment (front, driver) | Plastic + cover; rain cowl auxiliary |
| 3rd S60 | 2019–present | Trunk (primary) / engine auxiliary | Trim panels; under-hood jump post |
“Check VIN and model year, then follow factory diagrams to avoid common mistakes.”
Volvo S60 Battery Location by Generation
Each S60 generation has its own power-pack layout that affects access and service steps.
1st gen (2001–2009) — Lift the cargo floor and open the spare access cover to reach the battery. Hold-down brackets and cable routing are visible, so basic replacement and testing are straightforward.
2nd gen (2010–2018) — Stop/start models use two cells. The primary 12V sits forward near the driver in the engine compartment. An auxiliary module hides under the rain cowl beside the passenger side and can trigger a dash message if it fails.
3rd gen (2019–present) — The main cell moved back to the trunk to aid balance and packaging. An engine-bay auxiliary remains for start systems, so both units may need testing if a start message appears.

“If a start message appears, test both main and auxiliary cells before replacing the primary.”
- Trunk access favors cargo-floor removal; engine access may require top-cover or cowl removal.
- Check model year diagrams and torque specs before reassembly to avoid damage.
| Generation | Years | Primary placement | Auxiliary |
|---|---|---|---|
| 1st S60 | 2001–2009 | Trunk (under spare cover) | None |
| 2nd S60 | 2010–2018 | Engine compartment (front, driver) | Under rain cowl (passenger side) |
| 3rd S60 | 2019–present | Trunk (primary) | Engine-bay auxiliary |
Access, Safety, and Jump-Start Points
Safe access and correct jump points make roadside service faster and far less risky.
Always suit up: wear safety goggles, gloves, and protective clothing before touching electrical terminals. Small sparks can cause acid splashes or burns, so keep metal tools away from live posts.
Locate the positive jump terminal under a small plastic + cover in the engine compartment. Use the designated ground post nearby for the negative clamp to avoid arcs and protect sensitive modules.
“Use insulated-handled tools and confirm polarity twice before clamping.”
- Do not lay a metal tool across terminals; arcing can create a serious safety problem.
- For trunk-mounted power packs, engine-bay jump points let you start the car when the trunk is inaccessible.
- Clean white or green corrosion with an approved cleaner and a dedicated cleaning tool; dry fully before reconnection.
- After a jump, let the charging system run to ensure the unit is fully charged, then test voltage and load if any issue remains.
Tip: confirm jump point location for your model before roadside service to save time and avoid damage.
How to Replace a Volvo Battery at Home
With the right prep and tools, a safe at-home replacement takes under an hour for many models. Read the owner manual first to confirm part type, CCA number, and exact compartment location before you start.
Tools you’ll need
- Wrenches: 10mm and 13mm for terminals and hold-downs.
- Safety gloves and goggles, wire brush or terminal cleaner, baking soda/water solution.
- Protectant spray and a strap or handle for lifting the new unit.
Step-by-step replacement
- Park on level ground, apply parking brake, turn off all systems.
- Disconnect negative first, then positive to reduce short risk.
- Loosen and remove the hold-down, then lift straight up to avoid spills.
- Clean tray and cable ends; neutralize corrosion with baking soda mix, rinse, and dry.
- Place new unit with correct post orientation, secure hold-down, reconnect positive then negative.
- Apply terminal protectant and start the car to ensure charging and that modules wake fully.
Final checks and owner manual
Confirm type: check manual for PowerFrame, EFB, or AGM and the required CCA number. Wrong specs can trigger charging faults or stop/start errors.
Note: many models, including some Volvo XC40 layouts, place the main cell on the driver-side under the hood near the windshield; still consult factory diagrams before removing covers.
“If coding or adaptations are needed after replacement, schedule service with a dealer to complete post-replacement checks.”
| Task | Recommended tool | Why it matters |
|---|---|---|
| Disconnect terminals | 10mm wrench | Prevents shorts and sparks |
| Clean connectors | Wire brush / baking soda | Ensures solid electrical contact |
| Secure hold-down | 13mm wrench | Prevents movement and damage |
Troubleshooting and When to Choose Service
If a dash message or start/stop error appears, don’t assume simple failure. Short trips, age, or wiring faults can produce the same alert as a weak cell. Test both main and auxiliary battery systems on stop/start models before buying a replacement.
Quick checks you can run
- Scan modules: read fault codes and clear them only after you save results for reference.
- Check charging: measure voltage at idle and under load; low numbers point to alternator or wiring faults.
- Inspect fuses: blown fuses in charging or distribution circuits often mimic cell failure.
When to call pro help
Frequent jump-starts, slow cranking, or unstable voltage after a correct-spec swap means root-cause diagnostics are needed. Persistent messages after replacement often require software calibration or module reprogramming.
“If codes point beyond the cell, consult a dealer or qualified shop for software updates and verified road tests.”
| Indicator | Likely cause | Next step |
|---|---|---|
| Repeat jump-starts | Charging or age | Full diagnostic |
| Persistent dash message | Software or auxiliary unit | Scan and reset |
| Blown fuse | Wiring fault | Replace and retest |
Conclusion
This wrap-up helps you confirm S60 locations and next steps for safe replacement or diagnostics.
Quick recap: 2001–2009 packs sit under spare access. 2010–2018 have a primary forward plus an auxiliary under rain cowl. 2019 onward return primary to cargo area while keeping an engine-bay module. Under-hood jump points hide beneath a small + cover with a nearby ground post for safe access.
Before any replacement, check owner manual for specs, follow disconnect order, secure mounting, and clean connections. If a message or error persists, run software checks, inspect fuses, then call dealer or trusted service. Use forums for tips, but always click expand on official procedures. A correct swap plus verified software status restores reliability and protects electronics for easy ownership of Volvo cars.


