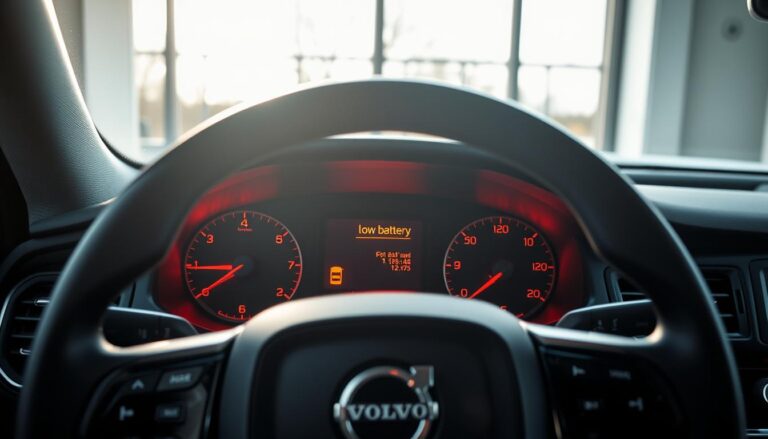
Safety first. A dashboard indicator for your car’s braking system demands quick attention. This alert can point to simple causes like the parking brake not fully released, or to worn friction material and low fluid in the master cylinder.
The hydraulic system multiplies pedal force to clamp rotors and convert speed into heat. Low fluid or thin pads reduce stopping power and may trigger the dash symbol before full failure occurs. Drive cautiously and avoid long trips until you check the issue.
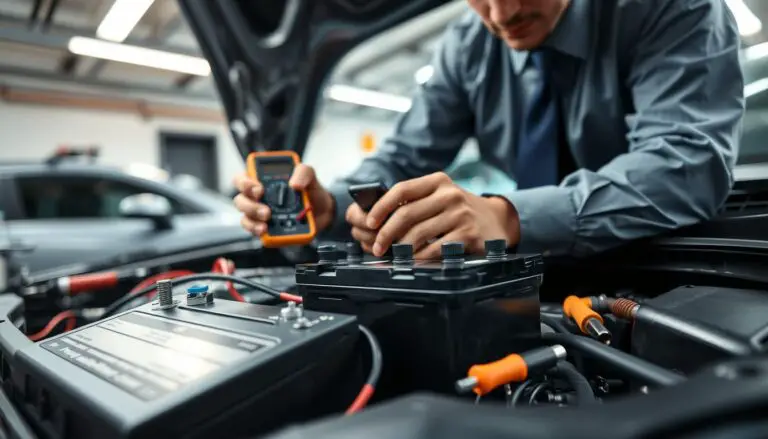
If the sensor shows a fault, get a trained technician to run diagnostics. Dealer service centers provide model-specific checks for modern systems, including the EX90.
Key Takeaways
- The dash alert is a high-priority safety signal; investigate promptly.
- Lights can appear while the car still stops — do not ignore them.
- Low fluid or worn pads lowers performance and can light the sensor.
- Check the parking brake and look for drag before driving further.
- Authorized dealers can run proper diagnostics on modern models like the EX90.
Understanding the Volvo brake warning indicators on your dashboard
Not every dash symbol means the same thing—identify the icon before deciding how urgent the repair is.
Common symbol: Many models show a circle with an exclamation mark or the word “BRAKE.” This icon mainly calls attention to worn friction material or system conditions that need inspection.
How it differs: An ABS lamp is separate. ABS lights usually point to wheel speed sensors or an electronic fault, not pad thickness. The parking indicator lights whenever the parking brake is even partially engaged; that can cause drag and heat.
Fluid and sensors: A master cylinder level sensor can trigger the dash when fluid drops—often because pads wear and pistons extend, or due to a leak. Some pads use wear sensors that touch the rotor at minimum thickness to complete a circuit and warn the driver.
- Both the general and ABS lamps together often narrow the cause toward system or sensor issues.
- Knowing the difference helps you decide whether to stop immediately, pull over soon, or book prompt service.
- Always check your owner’s manual for the exact icon used on your vehicle cluster.
Volvo Brake Pad Warning Light: What It Means and What to Do
If a dashboard alert for your stopping system appears while driving, treat it as a safety priority. Slow down gently, avoid sudden steering or braking, and look for a safe place to stop as soon as traffic allows.
Safety-first steps to take the moment the light comes on while driving
- Ease off the accelerator and use engine braking where practical to reduce speed smoothly.
- Signal early, increase following distance, and move right when safe to do so in U.S. traffic.
- Activate hazard flashers if traffic is heavy so other drivers notice your reduced speed.

How to check once stopped
After you pull over, do a quick visual scan for fluid under the vehicle. Open the hood and check the master cylinder reservoir; low brake fluid can explain the warning and may allow a temporary top‑up.
| Step | Why | Action |
|---|---|---|
| Reduce speed | Maintain control | Use gentle deceleration and move to right lane |
| Check fluid | Low level signals wear or leak | Top up cautiously; book service |
| Test pedal | Assess firmness | Perform a low‑speed pedal check in a safe area |
| Contact service | Diagnostics may be needed | Call Volvo cars support or nearest dealer |
Note: If the indicator returns after a top‑up or drops rapidly, a leak or hydraulic fault is likely. Avoid long trips and document how and when the alert came on to help technicians diagnose issues faster.
Quick checks before you drive any farther
Before you drive on, perform a few quick checks that help spot common faults early.
Confirm the parking brake is fully released
Even slight engagement can trigger a dash sensor and cause friction drag. That drag overheats pads and shoes, speeding wear and reducing stopping performance.
Do a visual check of the lever or pedal and make sure the indicator in the cluster is off. Listen for scraping noises and sniff for hot, burned smells at each wheel.

Check master cylinder fluid level and what low level may signal
With the engine off and the car on level ground, confirm the reservoir level sits between the MIN and MAX marks.
A slow fall in level usually reflects normal pad wear as caliper pistons extend. A sudden or large drop often signals a leak and should be treated as an urgent system warning.
| Check | Reason | Action |
|---|---|---|
| Parking brake | Partial engagement causes heat and drag | Fully release and recheck indicator; inspect wheels for odors/noise |
| Reservoir level | Low level can mean wear or a leak | Top up with correct brake fluid spec; book service if drop is sudden |
| Fluid condition | Dark or contaminated fluid reduces performance | Plan a fluid change and system flush |
If the pedal feels soft or travels farther than usual, avoid driving and seek professional help. A gentle, short test in a safe empty area can confirm basic function, but it never replaces a full inspection when a warning persists.
How to self-diagnose brake pad wear at home
Start with safety. Park on level ground, engage Park, and chock the wheels. Lift only at the car’s jacking points and support the vehicle on jack stands before removing any wheel.
Secure the vehicle
Do not skip this step. Confirm the handbrake is set, place wheel chocks, and use stands. A stable setup protects you while you inspect moving parts.
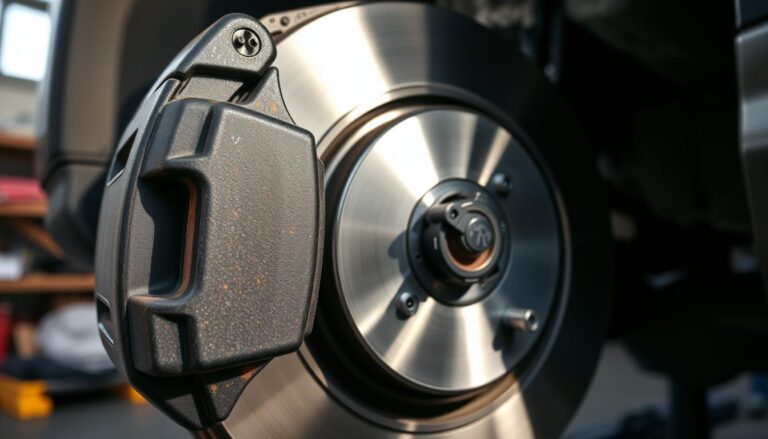
Remove the wheel and inspect
Rotate the wheel off and position the caliper so you can view inner and outer material. New brake pads measure about 10–12 mm.
Replace pads when pad thickness reaches roughly 3 mm. Inner pads often wear faster—check both sides.
Look for uneven wear or damage
Uneven wear, glazing (a shiny surface), or heavy scoring on the rotor can point to seized slide pins or a sticking caliper. Some pads have wear-sensor wires that touch the rotor when material is near minimum; contact marks can explain a dash alert.
Check rotors for heat spots, ridges, or deep grooves; those parts may need machining or replacement with new pads and related parts. If you see fluid at calipers or hoses, stop and seek professional service—any hydraulic leak risks safety.
Reassemble carefully, torque lug nuts to spec, pump the pedal until firm, then perform a cautious test drive to confirm proper function.
Common reasons the brake light comes on and what each means
Dash warnings may stem from mechanical wear, a misadjusted switch, or an electrical sensor failure.
Worn pads and dropping fluid level
As friction material thins, caliper pistons extend and reservoir fluid falls. That change can trigger the dash without any external leak. Many vehicles also use a wear sensor that contacts the rotor when thickness reaches minimum and completes a circuit that alerts the driver.
Sensor-related issues
A slightly engaged or misadjusted parking switch can keep the icon on. Master cylinder level sensors can fault if contaminated or aged, causing intermittent alerts. Wheel speed sensors on the ABS get dirty or fail and may trigger related lights.
ABS versus general warnings — and urgent signs while driving
If ABS and the general lamp illuminate together, suspect electronic sensor faults. If the icon appears while driving and pedal feel softens, a hydraulic leak is possible. In that case, stop driving and seek service immediately.
| Cause | Typical clue | Suggested action |
|---|---|---|
| Worn pads / low fluid | Gradual fluid drop; wear sensor contact | Inspect pads; top up brake fluid; replace pads |
| Parking brake switch | Light stays on despite released lever | Check switch adjustment; test switch at rest |
| Master cylinder sensor | Intermittent warnings | Professional testing; replace sensor if faulty |
| ABS wheel speed sensor | ABS lamp plus general lamp | Clean or replace sensor; read fault codes |
When to see a Volvo technician and what to expect
Book a trained technician when dashboard alerts persist, pedal feel changes, or fluid levels fall suddenly. Timely service prevents small faults from causing bigger damage and keeps driving safety front of mind.
What the professional inspection covers
Pad thickness, rotor condition, fluid condition, and leak checks are standard. Technicians measure remaining material, check rotor runout, and note glazing or scoring.
They will inspect hoses, calipers, and slide pins for seizure or corrosion. Any fluid loss prompts a thorough leak search and pressure tests.
Diagnostics for electrical and hydraulic faults
Service centers read stored ABS and braking system codes to pinpoint sensors or wiring faults. Wheel speed sensor signals and master cylinder level sensors are verified with OEM tools.
Why prompt factory service matters
OEM procedures and parts help preserve pedal feel, system performance, and overall safety. Proper bleeding, level top‑up, and a final road test confirm repairs.
| Issue reported | What tech checks | Likely outcome |
|---|---|---|
| Persistent dashboard alert | Pad measurement, reservoir level, leak test | Replace pads or repair leak; top up fluid |
| Soft or spongy pedal | Fluid condition, air in lines, master cylinder test | Flush and bleed; replace contaminated fluid |
| ABS or electronic fault | Read codes, test wheel speed sensors, inspect wiring | Clean/replace sensors; clear codes after verify |
| Uneven wear or noise | Rotor surface check, caliper slide inspection | Resurface or replace rotors; service calipers and parts |
Share details about when the event began, any noises, and vibration. That information speeds diagnosis and helps technicians restore full function so the indicator is cleared for good.
Conclusion
If an alert appears while driving, reduce speed and pull over as traffic allows. Prioritize safety: stop where you can inspect the car without exposure to passing vehicles. A quick check of the parking switch and master cylinder fluid level often reveals simple causes when a light comes on.
Keep records of when the indicator first showed and any pedal feel or noises. Regular maintenance that includes pad thickness checks and monitoring fluid levels prevents many repeat issues. If a brake light comes back or an ABS lamp also illuminates, schedule professional diagnostics without delay.
Timely service at an authorized Volvo cars center—especially for models like the EX90—protects components, restores confidence, and gets you back on the road safely.
FAQ
What does the brake pad warning light look like and how is it different from ABS or parking brake lights?
The dashboard indicator for worn friction material typically shows a small circle with dashed lines or a pad icon near the wheel symbol. ABS lights usually display the letters “ABS,” and the parking brake lamp is often an exclamation point inside a circle or a “P” symbol. Each uses a different color or shape, so compare icons before assuming the cause.
If the light comes on while driving, what immediate safety steps should I take?
Slow down gradually, avoid hard braking, and increase your following distance. Signal and move to the right when safe, then pull over to a secure spot. Turn off the engine only after stopping and use a hazard signal if traffic requires. Do not resume normal driving until you confirm the system is safe or a technician has inspected it.
How do I check that the parking brake isn’t engaged and causing the warning?
Park on level ground, engage and fully release the parking brake lever or electronic switch, then check the dashboard icon. If the light extinguishes after a full release, the brake may have been partially engaged. If it stays lit, further inspection is needed.
How can I check brake fluid level and what does a low level indicate?
Open the hood, locate the master cylinder reservoir, and read the MIN and MAX marks on the translucent container. Low fluid can mean worn pads (which lower the level as calipers extend), a leak in the hydraulic system, or recent service without proper refill. Address low levels promptly.
What basic steps let me self-diagnose pad wear at home safely?
Park on a flat surface, chock the opposite wheels, lift the car with a jack and support it on stands, then remove the wheel. Inspect pad thickness—replace when about 3 mm remains. Look for uneven wear, glazing, or a sensor wire rubbing the rotor. If unsure, stop and seek professional help.
What does uneven pad wear or glazing tell me about the braking system?
Uneven wear can point to stuck caliper slides, collapsed pistons, or suspension alignment problems. Glazing—shiny, hard surfaces—indicates overheating from harsh braking or prolonged drag. Both reduce stopping power and require repair or replacement of pads, calipers, or rotors.
Can sensor faults trigger the brake warning even if pads look OK?
Yes. Faulty parking brake switches, master cylinder level sensors, wheel speed sensors, or corroded connectors can illuminate a warning. Electrical faults may also trip ABS or traction control lamps. Diagnostics often require a scan tool to read stored fault codes.
How do ABS warnings differ from a general braking-system warning and what if both lights are on?
ABS warnings indicate the anti-lock system has detected a fault but basic braking usually still works. A general braking-system warning may point to fluid loss, pad wear, or leaks and can affect overall stopping ability. If both illuminate, treat it as urgent and stop driving when safe.
When should I stop driving and call for professional service?
Stop and seek service if the pedal feels soft or sinks, you hear fluid leaks, the warning stays on after basic checks, or the vehicle pulls during braking. Any sign of reduced braking performance or persistent dashboard warnings requires immediate attention.
What will a technician inspect when I bring the car in for a brake-system warning?
A service visit typically includes measuring pad thickness, checking rotor condition, testing caliper function, inspecting brake hoses and lines for leaks, verifying master cylinder fluid and reservoir sensors, and scanning for ABS or body-control module codes. Expect recommendations for parts and service based on findings.
How often should pads and fluid be checked to avoid sudden warnings?
Have pads inspected at least every 10,000 to 15,000 miles or during tire rotations. Replace fluid every two years or per the manufacturer’s schedule and check levels monthly. Regular preventive checks reduce the risk of roadside warnings and extend component life.
Does model type, like the EX90, need any special considerations for brake warnings?
Modern models such as the EX90 use sensors, electronic parking brakes, and integrated safety systems. These make diagnostics more precise but also more complex. Technicians with factory-level tools can read specific fault codes and follow manufacturer procedures for resets and repairs.