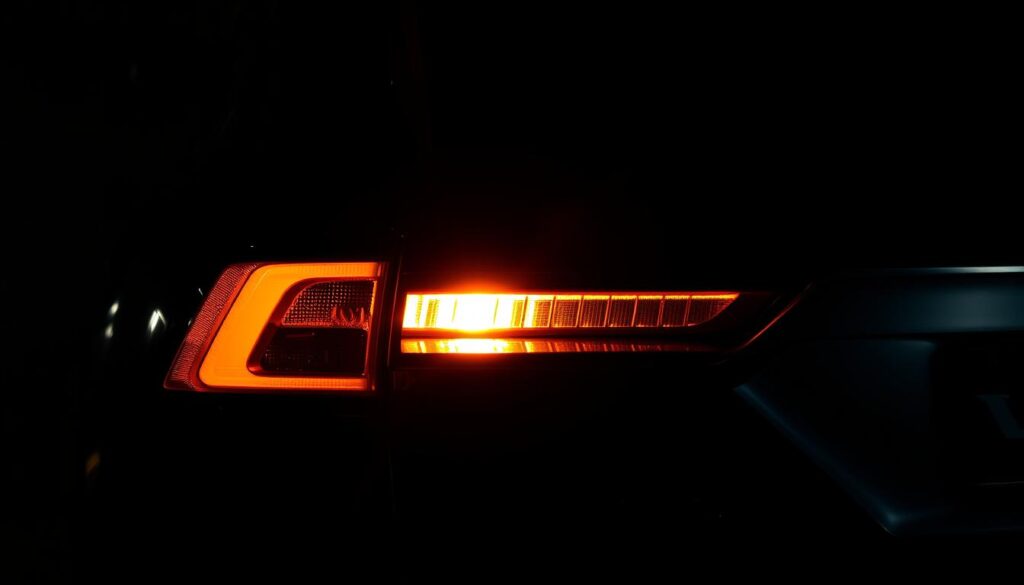
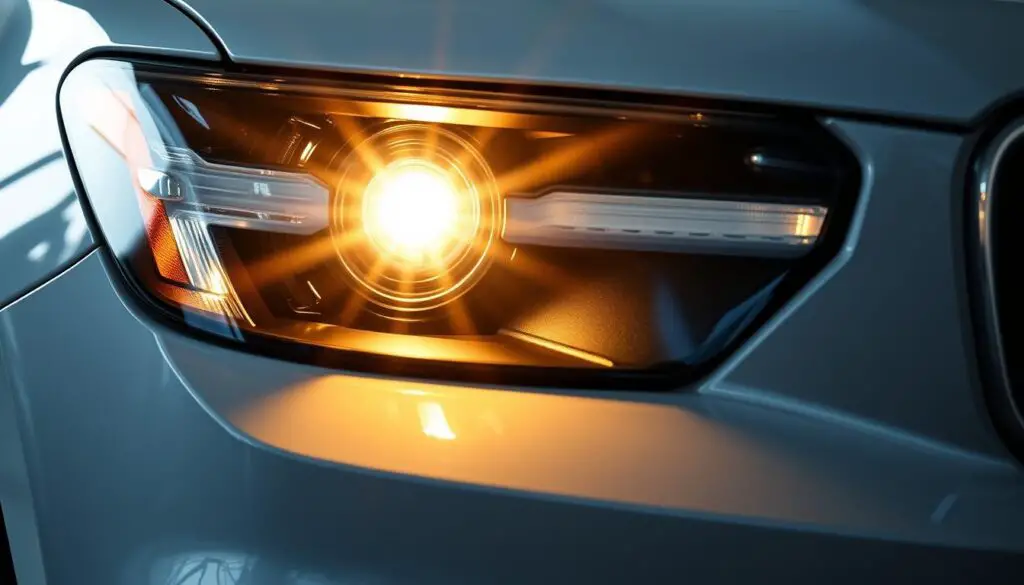
Driving with a dashboard warning for stop lights is unsafe and can be illegal. This page explains what that warning means, common reasons it appears, and practical steps you can take for your vehicle. You will learn when a simple bulb swap suffices and when sealed LED assemblies require professional care.
Older models with filament bulbs often allow DIY service with a socket set and spare bulbs. Newer models use sealed LED units that need shop replacement or adjustment to meet spec. Volvo detects bulb failure by measuring current draw, so using the wrong wattage or swapping an LED into a filament circuit can keep the warning lit even if the light seems to work.
There is no dash reset for this message. It clears only when the electrical load returns to the expected range. Read on for a clear roadmap: identify your year and lamp type, run methodical checks, and decide when to call a professional.
Key Takeaways
- Warning means a visibility or signaling light may not work properly.
- Older filament bulbs are often user-serviceable; LEDs usually need pros.
- Wrong bulb type or current draw keeps the message active.
- No manual dash reset — the system clears when load is correct.
- Diagnose methodically; call a technician if faults persist after bulb replacement.
Understanding the Volvo parking/stop lamp warnings right now
A dashboard warning about rear lights often means the system has detected an electrical anomaly that needs prompt attention. The cluster will flag a circuit when current draw falls outside expected values. That helps separate a dead bulb from a wrong-watt replacement.
What the alert means and why it matters
The message signals a safety issue: a stop or position light may not come on when needed or may stay lit unexpectedly. Driving with faulty rear lights can break traffic laws and raise the risk of a rear-end crash.
Filament bulbs vs. LED assemblies
Older year model cars, such as many early volvo s60 examples, use filament bulbs that most owners can replace at home. Newer vehicles use sealed LED units that are non-serviceable and usually require professional replacement or adjustment.
- Look for dim, flicker, or asymmetric brightness as signs of a bulb or wiring fault.
- Check sockets and harnesses for corrosion before assuming a module error.
- Document any displayed codes to speed shop diagnosis and consult a bulb failure guide.
Parking Lamp Malfunction in Volvo: Top Causes and Expert Solutions
A recurring rear-light error usually points to a simple load or wiring fault that needs methodical checks.

Burned-out or incorrect bulbs: A broken filament or the wrong wattage changes current draw. Match OEM specs to clear the bulb failure message and restore normal operation.
Wiring and circuit faults
Corrosion, loose connectors, or damaged insulation in the circuit can cause dim or intermittent lights. Clean terminals and repair harness sections to stop sporadic warnings.
Control unit, sensors, and software
A failing lighting control module can misread load or fail to drive an output. Rear sensor failures can also upset lamp logic. Many ECU errors clear after a software update at a dealer.
| Cause | Typical symptom | Usual fix | When to call a shop |
|---|---|---|---|
| Burned or wrong bulb | Steady error, dim light | Replace with OEM bulb | If error persists after swap |
| Wiring/circuit fault | Intermittent lights | Clean/repair harness | Hidden damage or recurring faults |
| Control unit / ECU | Persistent error, no voltage | Module test, software reload | Module replacement or reflash |
- Start with visual checks and correct bulbs.
- Measure voltage and continuity along the circuit.
- Test sensor signals and control unit outputs before replacing modules.
Remember: the DIM won’t reset the warning manually — the message clears once measured current returns to spec. For step-by-step guidance, see the check stop lamp procedure.
Step-by-step: How to diagnose and fix Volvo parking/stop lamp issues at home
Begin by gathering a simple tool kit and the correct replacement parts so you can safely check filament-style rear lights. Park on level ground, switch the car off, and wear gloves. Collect a socket wrench set, trim tool, and OEM bulbs for your model and year.

Tools and parts checklist for filament-style models
Have a socket set, work gloves, trim tool, and fresh bulbs ready. A helper will make brightness checks faster and safer.
Accessing the tail assembly and inspecting the bulb and harness
Open the liftgate, remove the corner panel, and loosen the four retaining bolts. Detach wiring harness clips and pull the assembly out to reach the bulb sockets.
Testing brightness and current expectations
With the vehicle in Park, have your helper press the brake while you compare left-to-right light output. If one side looks dim, inspect the socket for corrosion, tighten the bulb, or replace it with the correct OEM type.
When DIY stops: electrical faults and scheduling pro service
If lights remain dim, flicker, or the warning persists, the fault may be the circuit, sensor, or control unit. Do not fit LED substitutes without load resistors. For complex electrical repair, schedule professional service.
Conclusion
Simple checks often fix most rear-light issues quickly. Start with the right bulb and clean, secure connections. When current draw returns to spec, the warning clears by itself.
Match parts to your year model and follow the access steps on this page. Filament-style lights respond well to basic service, but sealed LED assemblies on newer Volvo car or SUV models need professional attention.
If a message or error stays after bulb replacement, consider deeper causes such as a failing sensor, a worn harness, or a control unit issue. Book diagnosis rather than guessing parts.
For safety, keep a spare bulb in the glovebox, check lights with a helper, and note any recurring pattern to share with a technician. That simple routine reduces risk and speeds repair.
FAQ
What does a parking/stop lamp warning mean on my Volvo and why should I act?
The warning indicates the vehicle detects an abnormal current draw or no load in the lamp circuit. This can reduce visibility at night and may make the car illegal to drive in some states. Addressing it quickly keeps you safe and prevents further electrical damage.
How do filament bulbs differ from LED assemblies across model years?
Older Volvo models use filament bulbs that show a clear open or short condition; replacement is usually simple. Newer models use LED modules with built‑in drivers and sealed assemblies. LEDs require module-level testing or full assembly replacement when faulty.
Could a burned-out or wrong-wattage bulb trigger the warning?
Yes. A burned filament or an incorrect wattage bulb changes circuit load and trips the monitoring system. Always match the OEM bulb spec or the vehicle will keep reporting an error.
What wiring issues commonly cause light circuit faults?
Corrosion at connectors, chafed insulation, loose sockets, and water intrusion in the rear lamp housing are common. Any of these alters resistance or causes intermittent contact that the car flags as a fault.
When is the lighting control module likely the culprit?
If bulbs and wiring check out but the warning remains, the lighting control module or body control unit may be failing. Faulty relays, damaged PCBs, or connector corrosion at the module can require repair or replacement.
How do sensor malfunctions affect parking light function?
Some Volvo systems use inputs from rear sensors or CAN network messages to manage lighting states. A bad sensor or network fault can confuse the lighting logic and produce false lamp warnings.
Can software or ECU updates fix lamp warning messages?
Yes. Software bugs or calibration errors occasionally cause incorrect diagnostics. A dealer or qualified shop can check for technical service bulletins and apply ECU or body control updates to resolve logic errors.
What’s unique about LED‑equipped models when addressing lamp faults?
LED modules are often sealed and nonserviceable. Instead of replacing a bulb, you may need a new lamp assembly or module. Professional diagnosis helps determine if a repair harness or full module swap is required.
Why does cycling the ignition or resetting the DIM not permanently clear the message?
The message clears only while current draw returns to spec. A DIM reset is temporary; the system rechecks the circuit and will reissue a warning if the underlying load issue persists.
What tools and parts should I have for diagnosing filament‑style lamps at home?
Basic tools: multimeter, test light, replacement bulbs of correct wattage, dielectric grease, wire brush, needle‑nose pliers, and a small socket set. A wiring diagram or service manual for your model year helps pinpoint circuit paths.
How do I inspect the tail/parking lamp assembly and harness safely?
Disconnect the battery, remove the trim or access panel, visually inspect sockets, wiring and connectors for corrosion or damage, and wiggle harnesses while checking continuity with a multimeter. Replace damaged sockets or connectors and seal housings against moisture.
How should I test brightness and current expectations between sides?
Compare left and right lamp brightness visually and with a multimeter for voltage at the socket. Measure current draw if you have a clamp or inline ammeter. Significant left/right imbalance or low current on one side suggests bulb, connector, or wiring fault.
When should I stop DIY and call a professional?
Stop and seek pro service if you find wiring shorted into body panels, ECU/module faults, persistent CAN errors, or if warnings persist after bulb and harness replacement. Modern systems require specialist tools and software to diagnose and repair safely.


